Creating and texturing a boulder with Blender
by R. Niehoff
Shaping a stone or a boulder is much easier than shaping a bridge or a house, but there is something we have to consider. The procedure seems to be clear: We take any sphere, distort it a bit (only a bit !), generate an uv map - and ready.
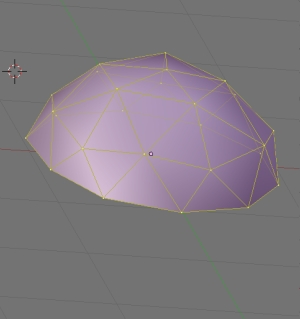
The first problem we should have in mind is the kind of sphere. We can't use an uv sphere because it contains quads. After distorting the sphere some quads are no longer plane and can't be used for collision detection. The character will move into the boulder and perhaps collide with the back side - a good way to stay inside the stone. No, for a boulder we must use an icosphere that contains only triangles. Remember that a triangle is always plane.
Normally a boulder is lying on the ground, so the lower faces of the sphere can be deleted.
 The next pic shows the uv map. It's generated in the same way as the uv map of the bridge, but we needn't arrange the faces on the map. Once the uv map has been created the texture coordinates are computed and part of the blender file. As from now you can ignore the uv map.
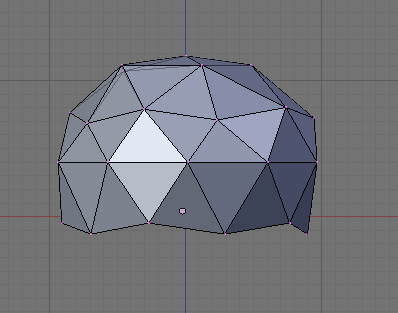
 Before you are going to export the model into an .obj file you have to consider that a boulder must be rendered smoothly. So you must set this option first ("set smooth" on panel "link and materials"). Without this option the vertex normals of all polygon vertices are set to the plane normal of the polygon. Compare the .obj files (the right one is for smooth rendering):
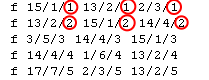

At this point Blender has done his work. Convert the obj file to a SP list as explained in this article. And what about the texture? You don't need a special texture, mapped to the uv coordinates. You can use any terrain texture like rock, sand, stone ...
Other boulders and stones
In the same way you can create boulders and stones with different shapes. Very often you can see only the top half of the stone. Why drawing the unvisible faces? Or sometimes the stone is lying on a rock, then you need the complete shape.